How to create personalised backgrounds for Zoom and green screen-enabled calls
With many of us still working from home and staying indoors, staying connected with friends, family and colleagues or clients is more important than ever. For months, people have been passing the time in lockdown by hosting an array of virtual meetings, quizzes, game nights and conference calls on the communications app, Zoom. As I’m sure many of us know, Zoom is an easy and reliable platform for video and audio, allowing up to 1,000 users to stay in touch virtually.
Zoom is well-known for having a number of different features, a favourite being the ability to change your virtual background on screen. The beauty of this is that you can hide your untidy or slightly unprofessional surroundings. Instead, you can stand beside the Golden Gate Bridge, immerse yourself under the ocean, or float about with the planets in space. Many people like to personalise their call backgrounds for the ultimate Zoom experience, but how do you do it? We’ve put together an essential guide on how to make a custom personalised background for your Zoom and green screen-enabled calls, using popular editing software such as Photoshop.
Note: Zoom virtual backgrounds are supported on Windows, macOS, and IOS that meet requirements.
How to make a custom background on Zoom
1. Start by creating an artboard within Photoshop (Size minimum resolution of 1280 by 720 pixels)
2. Decide on the style of background you wish to create. There are a whole variety to choose from, whether you wish for a simple image or a custom background. Here are a few images which make great backgrounds for Zoom:

Disney Castle
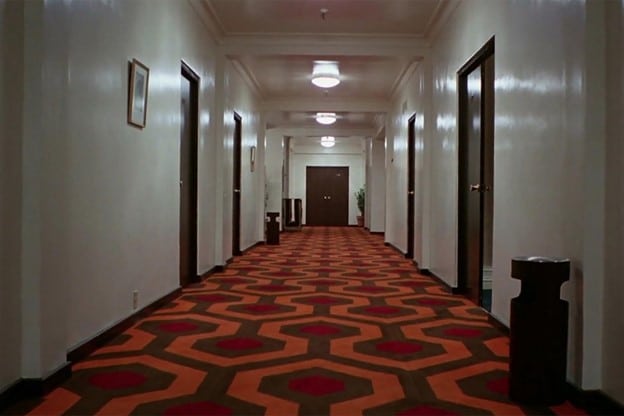
The Shining Hallway

Animal Crossing
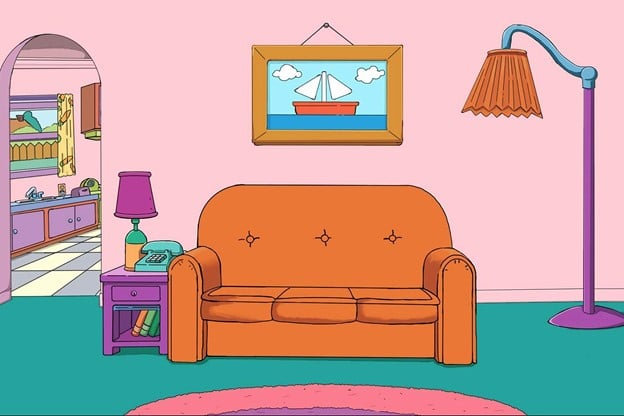
The Simpsons
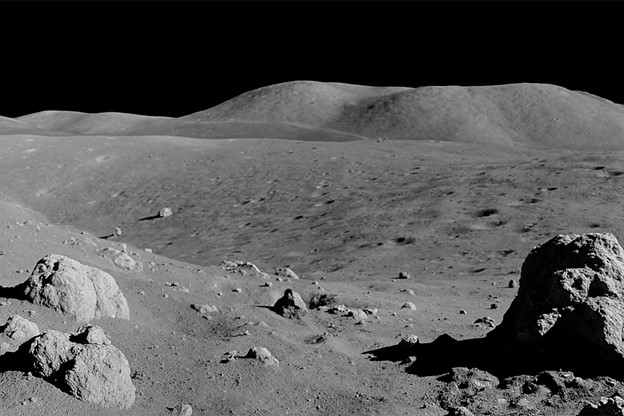
The Moon
3. If you opt for a photographic image, you can either copy and paste from the internet and scale the image up to the correct size. For best results, it is important to ensure the image has the right resolution and isn’t pixelated. If you already have your preferred image saved, simply place the image onto your artboard directly from your files. To do this you will need to go to file (left), Place embedded and select the image you would like to insert. Again, make sure the image is scaled up to the full width and height of the artboard.
4. If you opt for a graphic led image with text, then simply select the text box from the toolbar and click anywhere on the image. You should then be able to change the style, size, and colour through the character properties at the top of the screen.
5. Once you’re happy with your image, you will need to save it out as a JPEG or PNG image. To do this, select File, Save as and save in a familiar place ready to upload on Zoom.
How to upload your background
When you’re ready to use your new Zoom background, follow the below steps to get it set up:
1. Log into Zoom
2. Click on “My Meeting Settings”
3. Navigate the Meeting tab and then select the Virtual Background option.
4. Enable the setting and upload your background.